Installing Windows 2012 R2
Step 1
Insert Windows 2012 R2 DVD and start the machine

Step 2
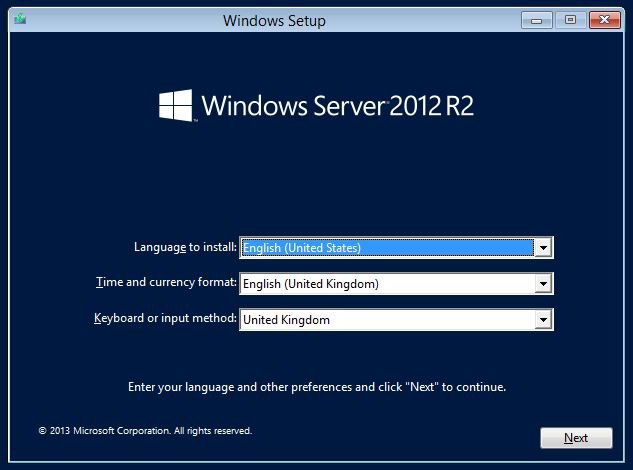
Once the disk has loaded and presented the country screen select your keyboard, language and time zone.
Step 3
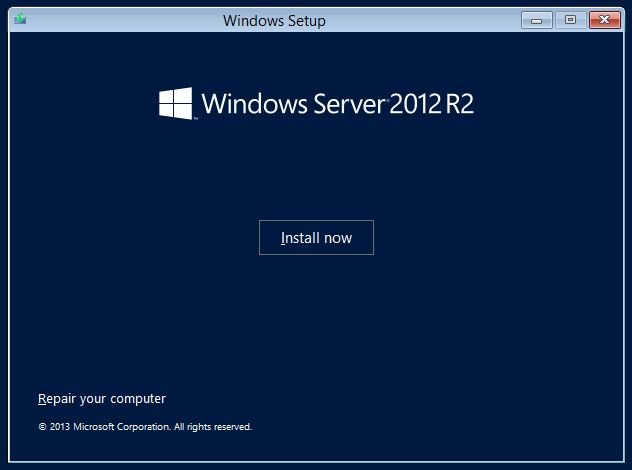
Then click on Next and Install now
Step 4
Setup starts
Step 5
You may have to provide a licence key dependent on what type of installation media you have. Then choose the operating system you wish to install

Step 6
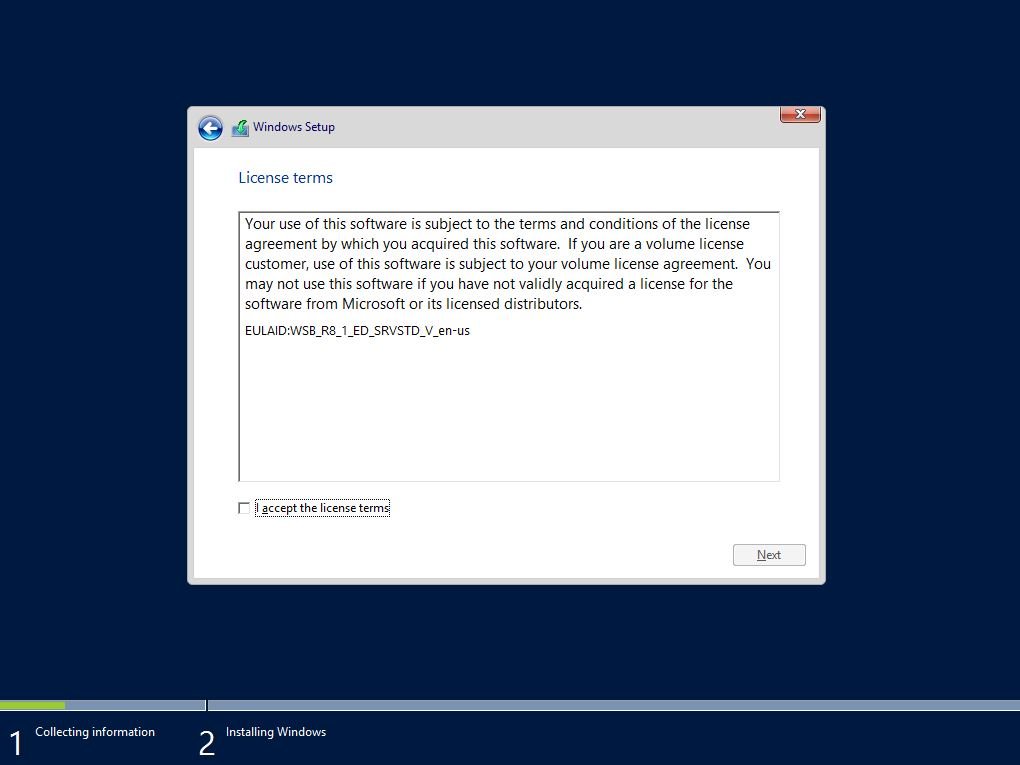
Accept the licence Terms and click next
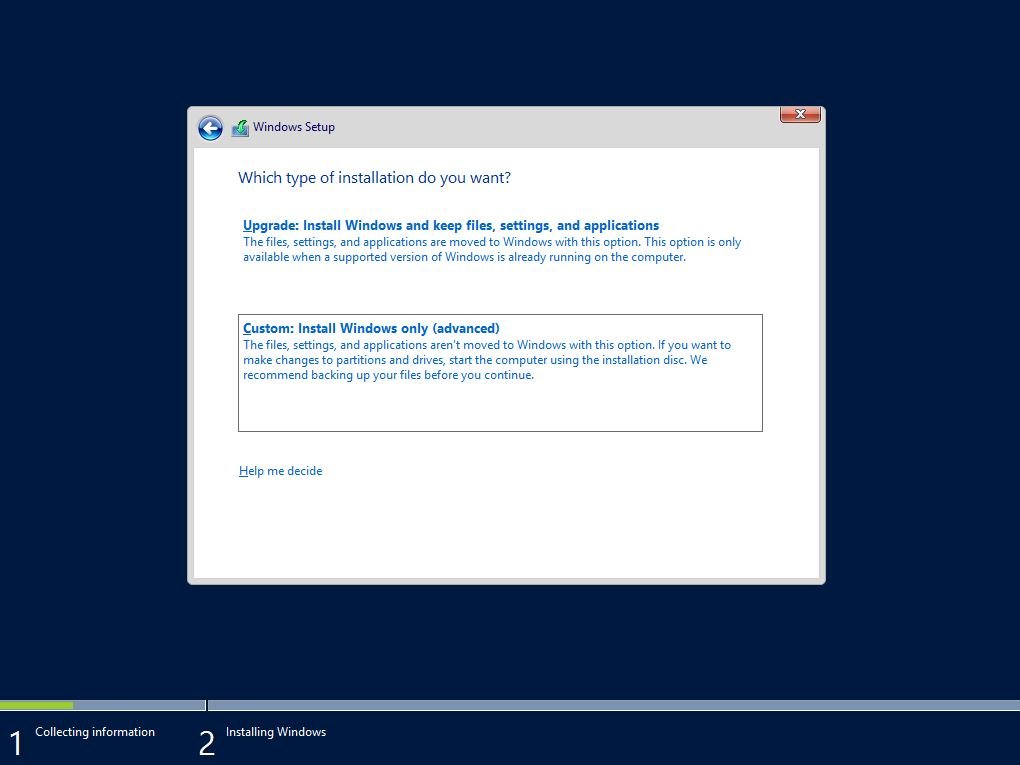
Step 7
For a clean install choose Custom
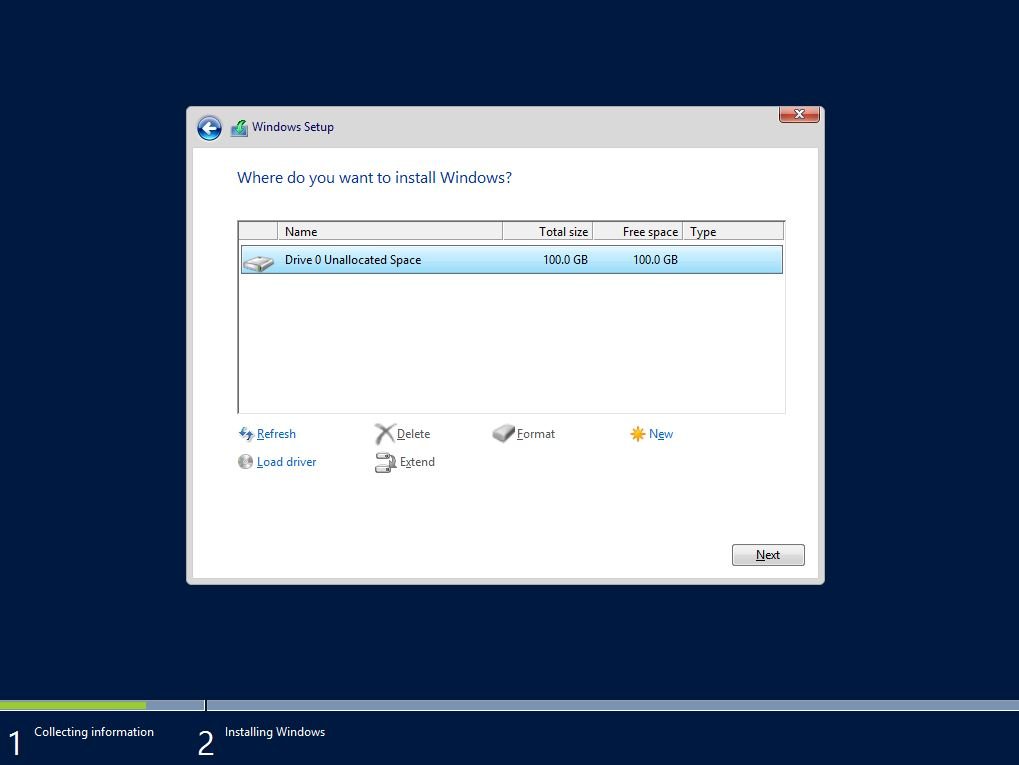
Step 8
Choose where you want to install Windows. Available drive space can be manipulated on this screen.Then click next.
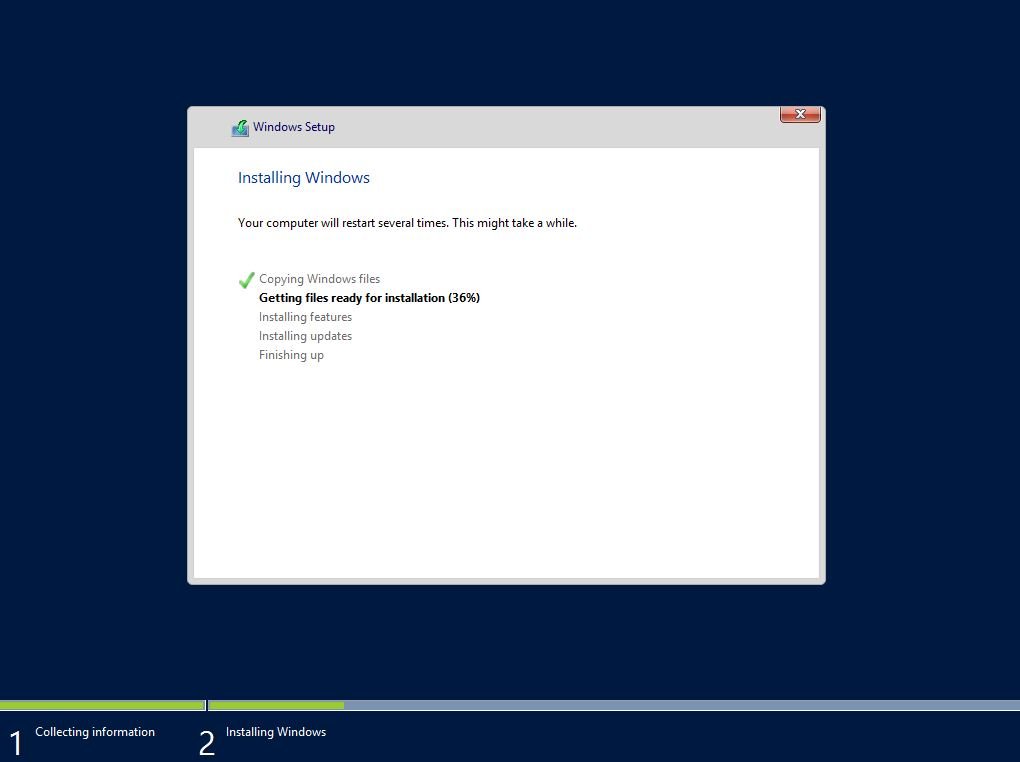
Step 9
Setup now copies files and does a basic installation
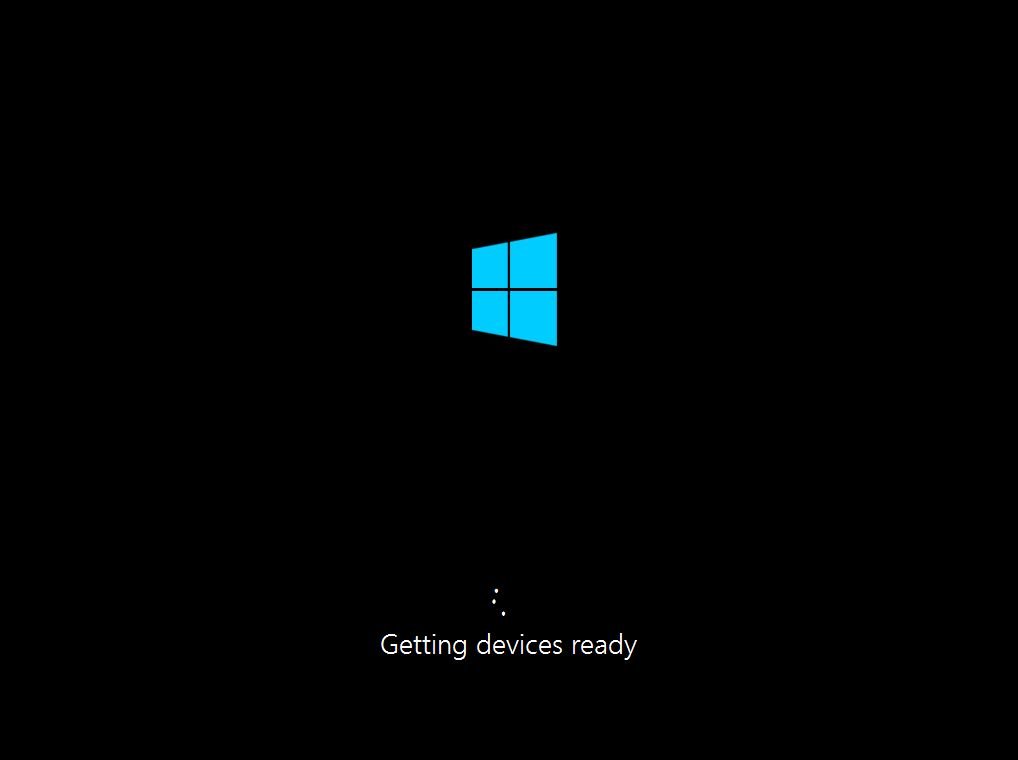
Step 10
The system reboots
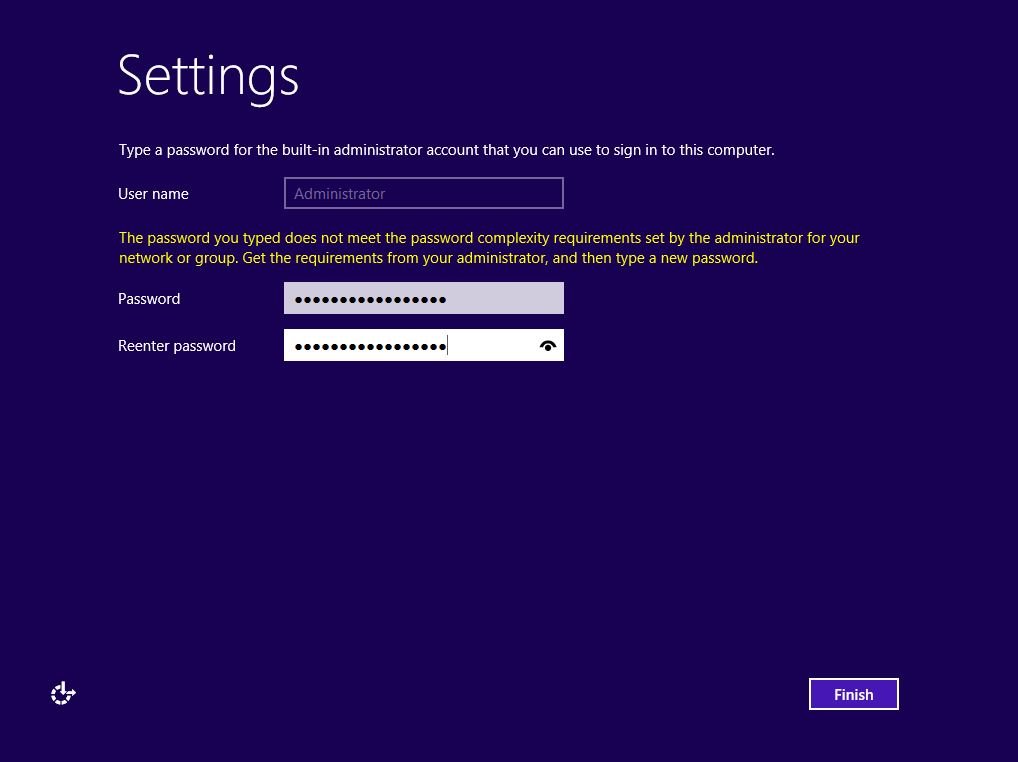
Step 11
Enter the administrator password - Upper and lower case, numbers and punctuation. On installation this is the built in administrator password. It is the one used when not on a domain. i.e. when the machine is a stand alone workgroup server. This is the local administrator and not necessarily the same as the domain administrators password.
Step 12
Basic installation complete
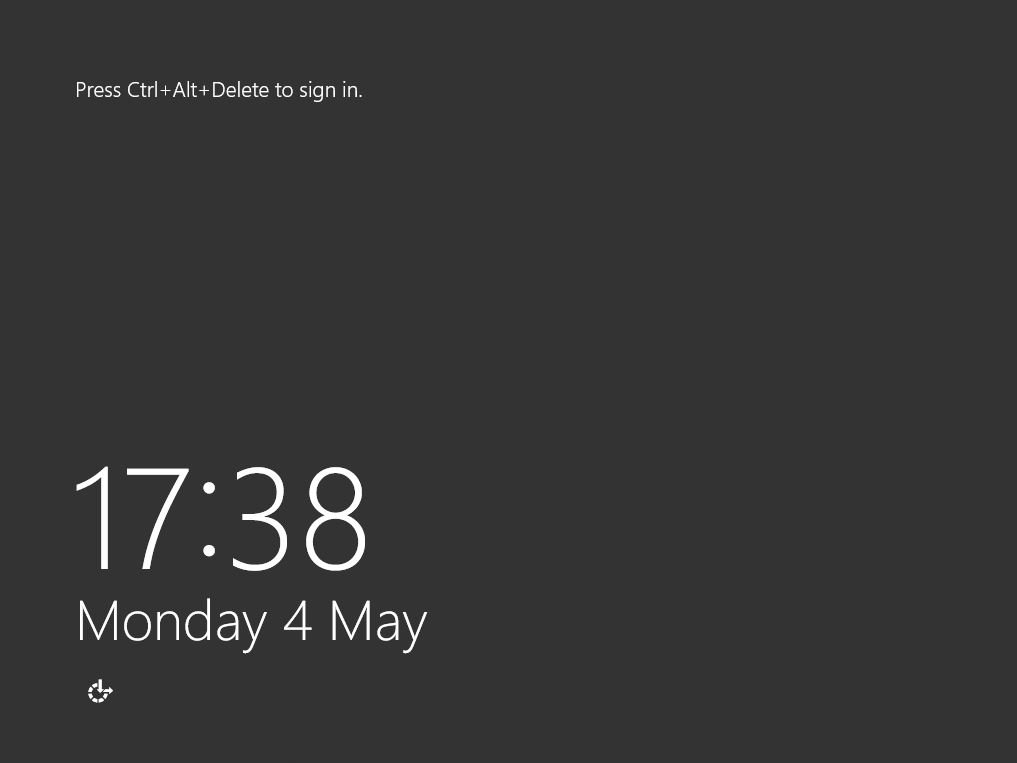
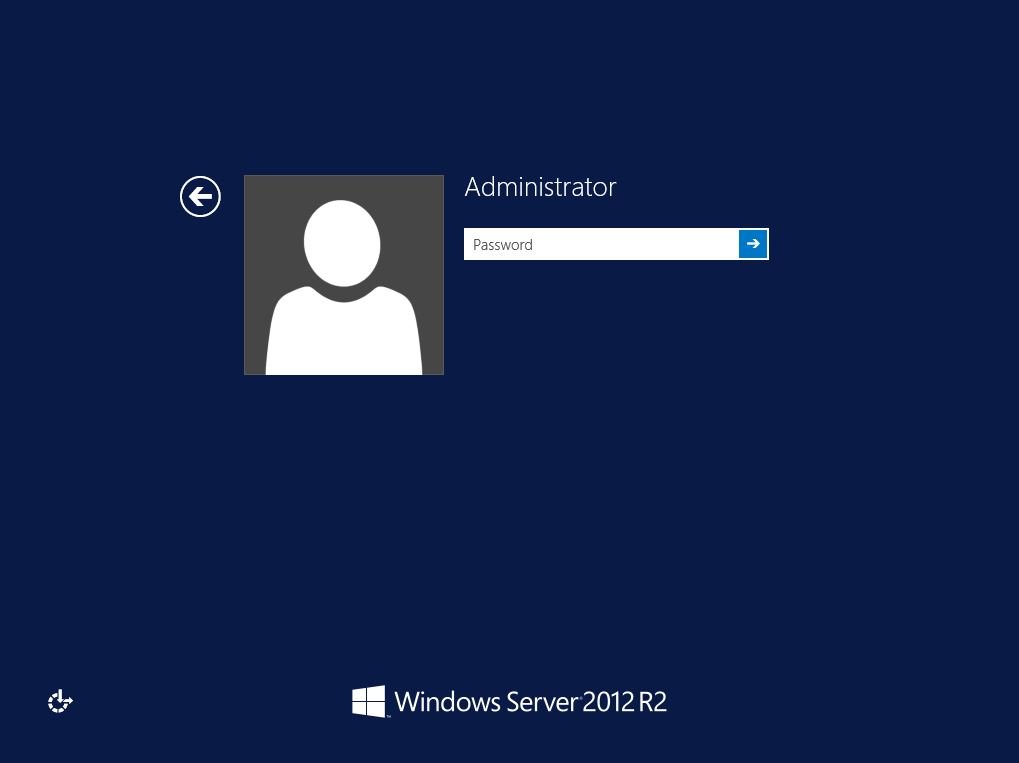
Step 13
Login
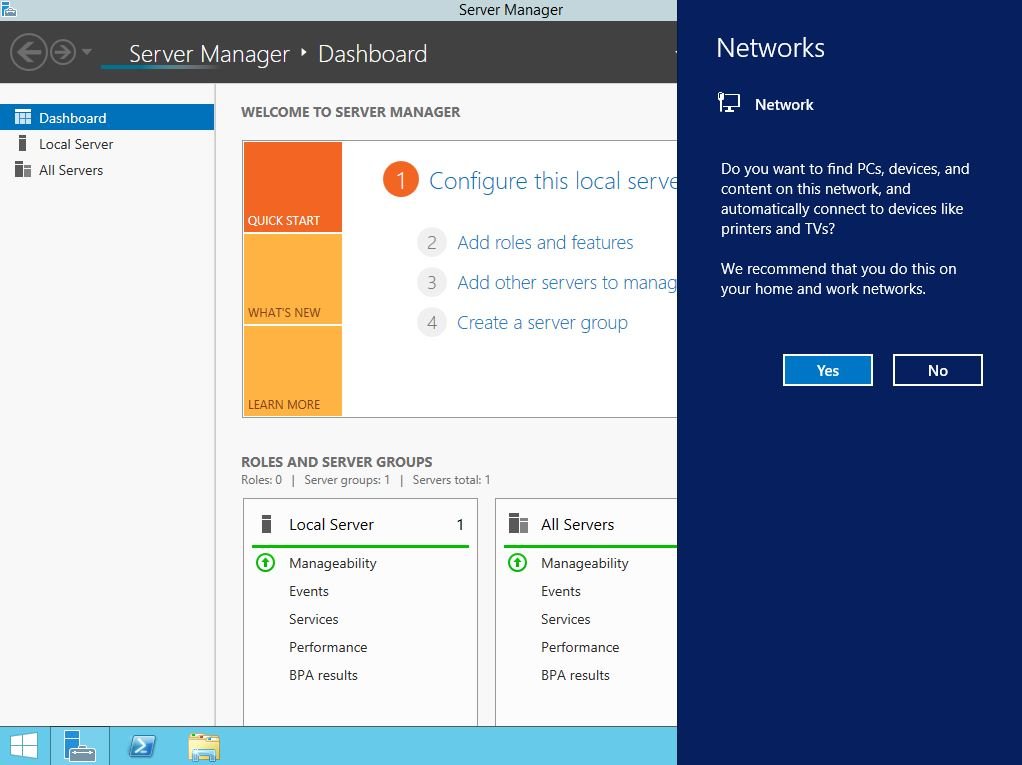
Step 14
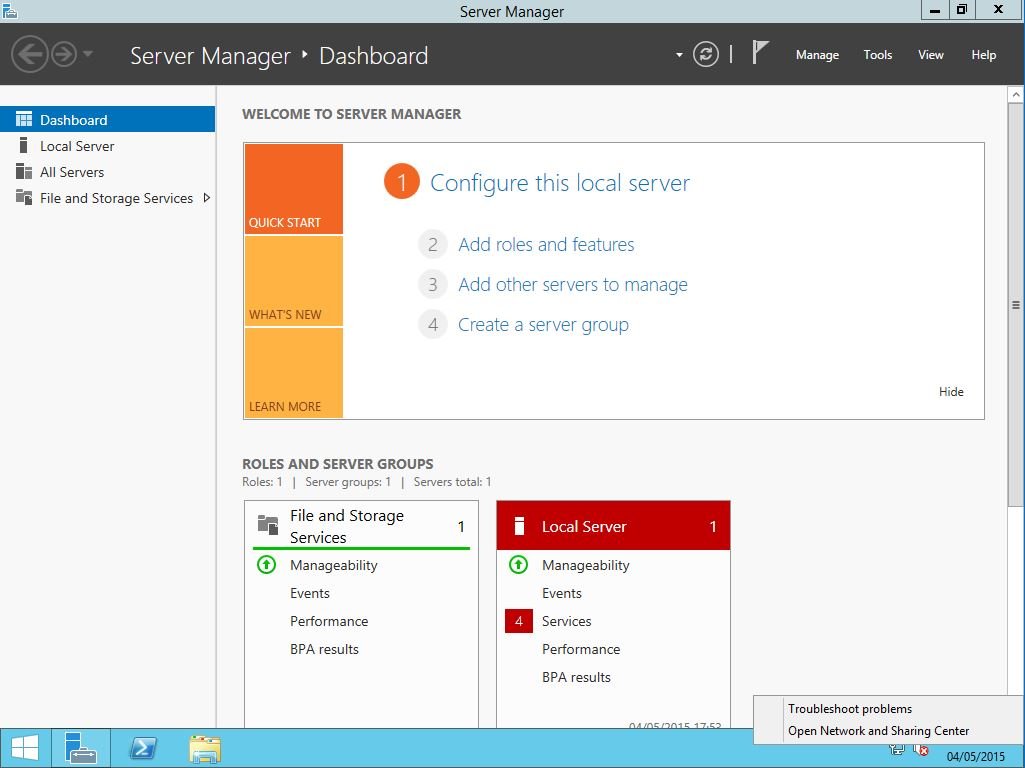
The system starts up as a member server and requests an IP address via DHCP so accept access to the network neighbourhood
Step 15
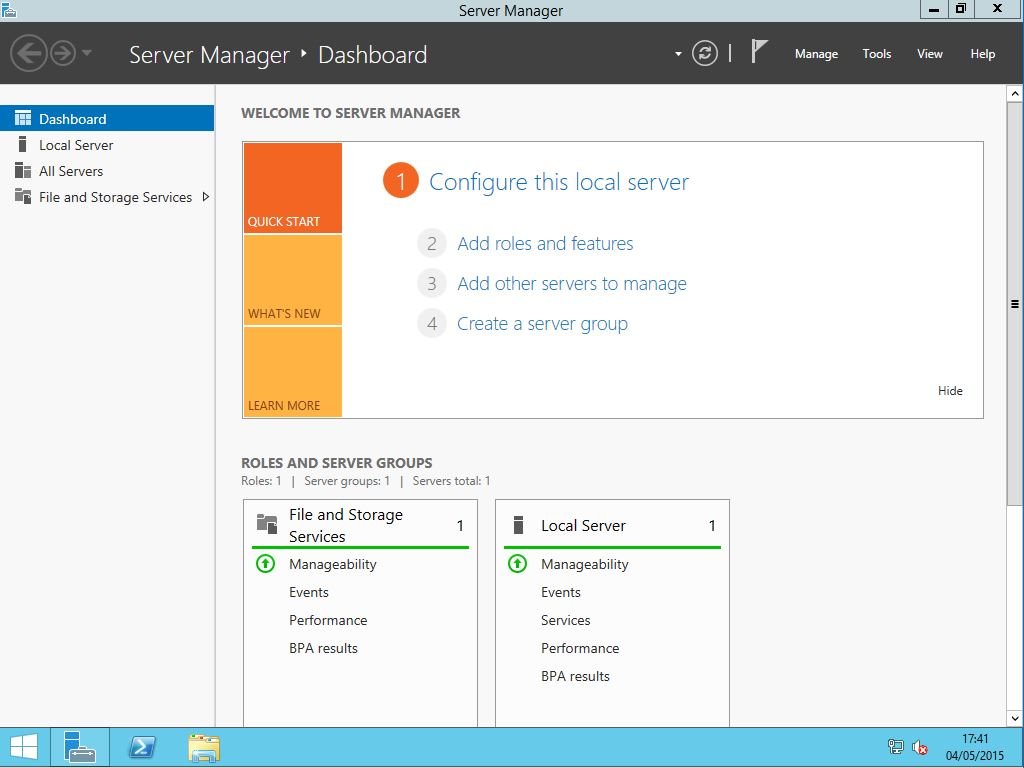
The next task is to change the Computer Name. Click on the dashboard.
Step 16
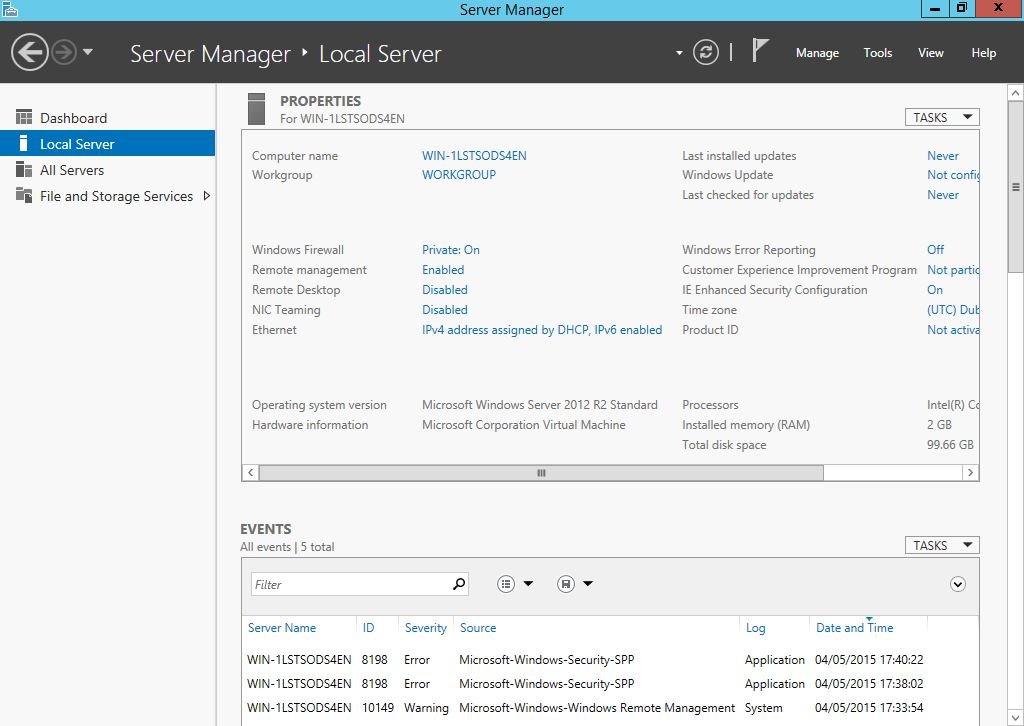
Then click on Local Server which will show the System Properties
Step 17
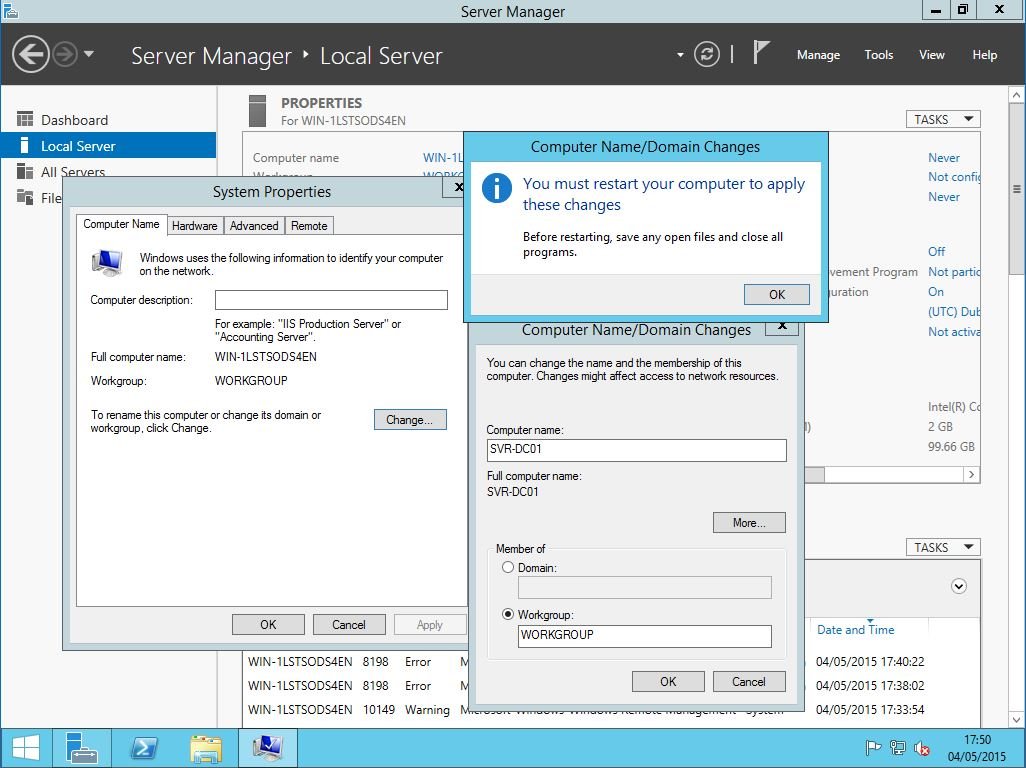
Click on computer name, choose change and enter an appropriate name, click on OK and OK
Step 18
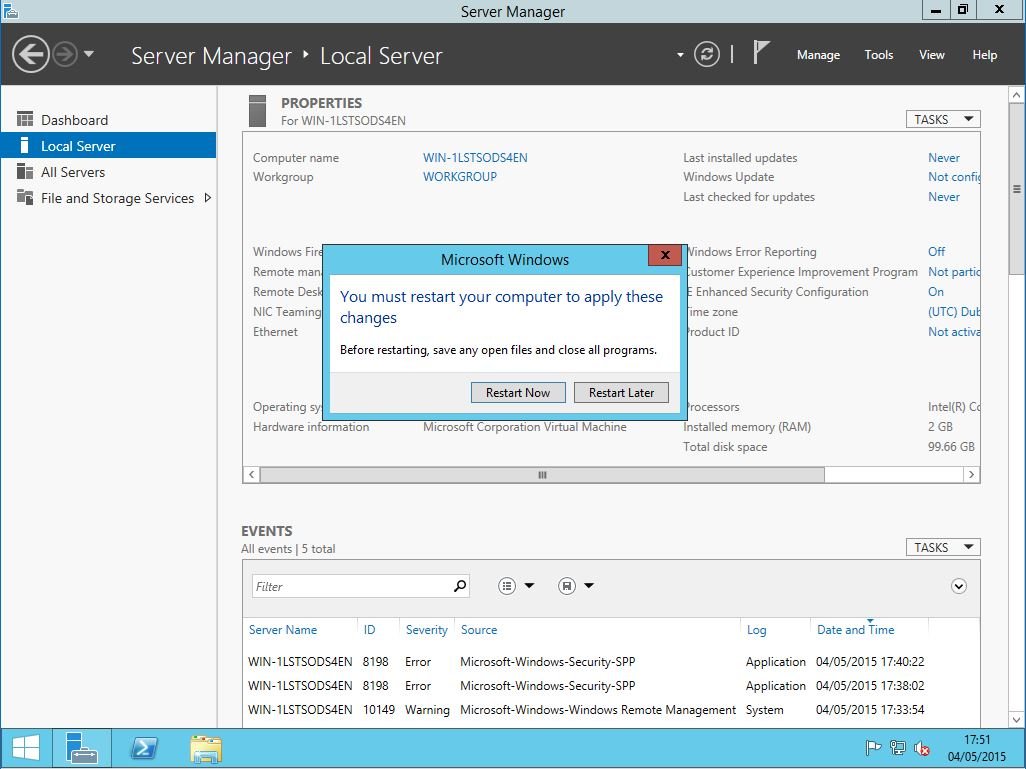
Click on Restart Now
Step 19
and the computer will restart
Step 20
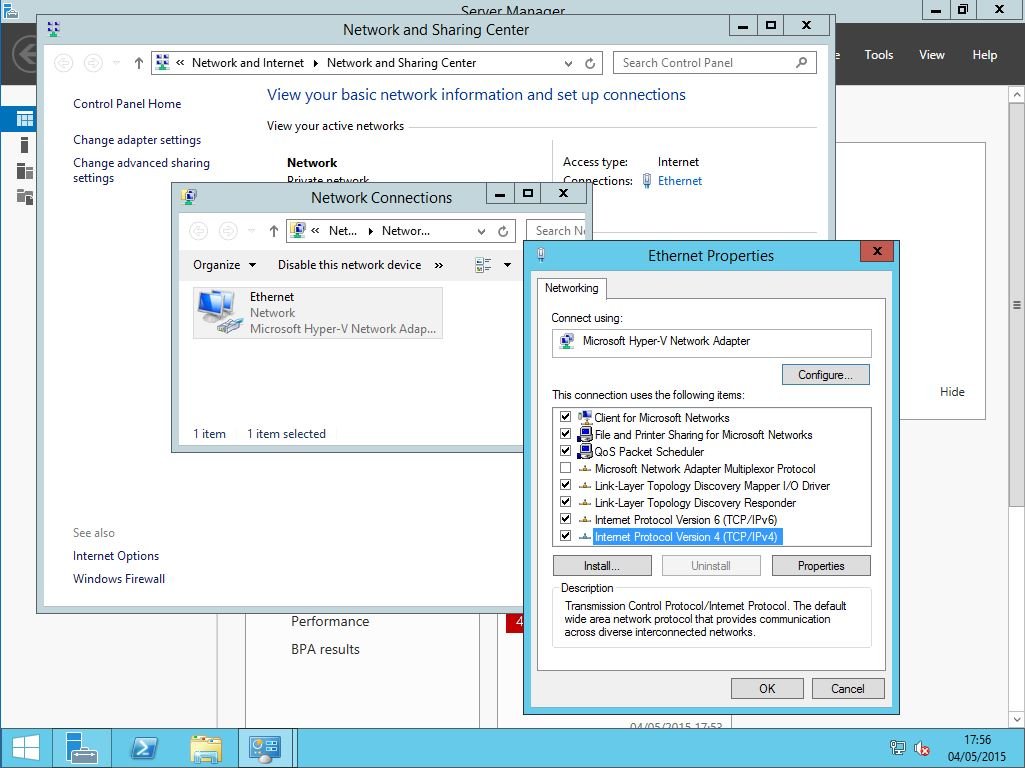
Next we are going to set up a Fixed IP address on the local network. Once you've logged back in right click on the network symbol in the systray and choose Open Network and Sharing Center.
Step 21
Choose change adapter settings, Right click on ethernet, choose properties, double click on IPv4.
Step 22
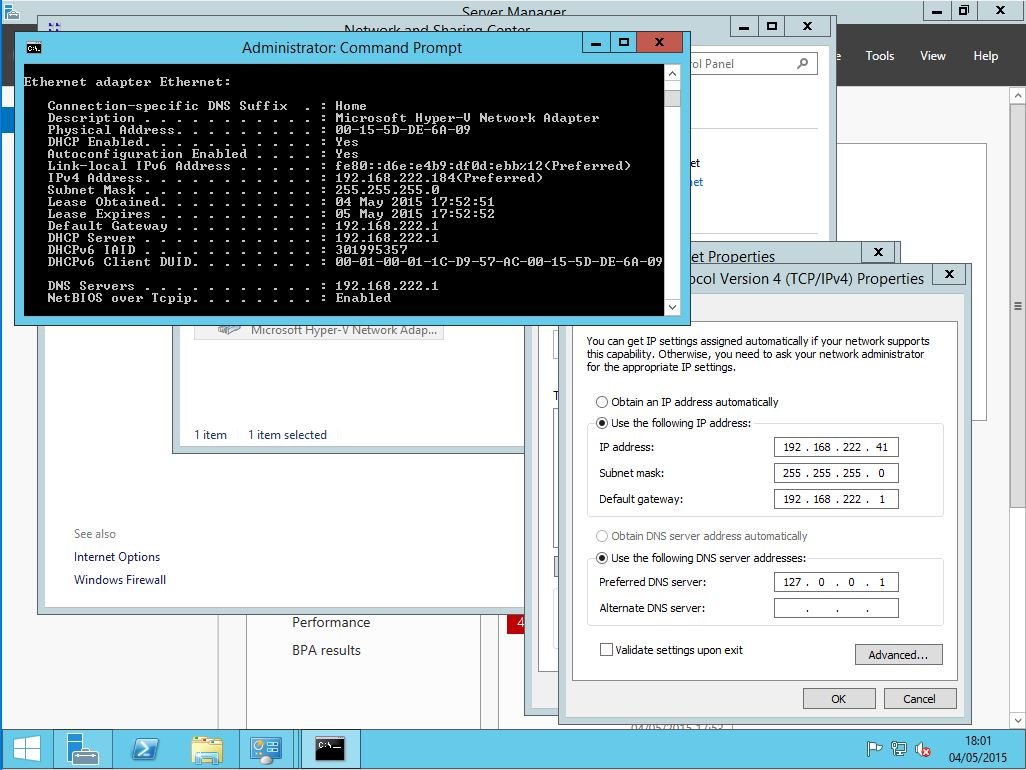
IPConfig /All in a command prompt shows the current info, choose an appropriate fixed IP for the server, subnet mask and default gateway. DNS (Domain Name Server) should point to itself as we are going to make this a domain controller, which also installs the DNS server role.
Step 23
To restart the machine move the pointer to the bottom right of the screen and then move it up and click on settings. Choose power and restart.
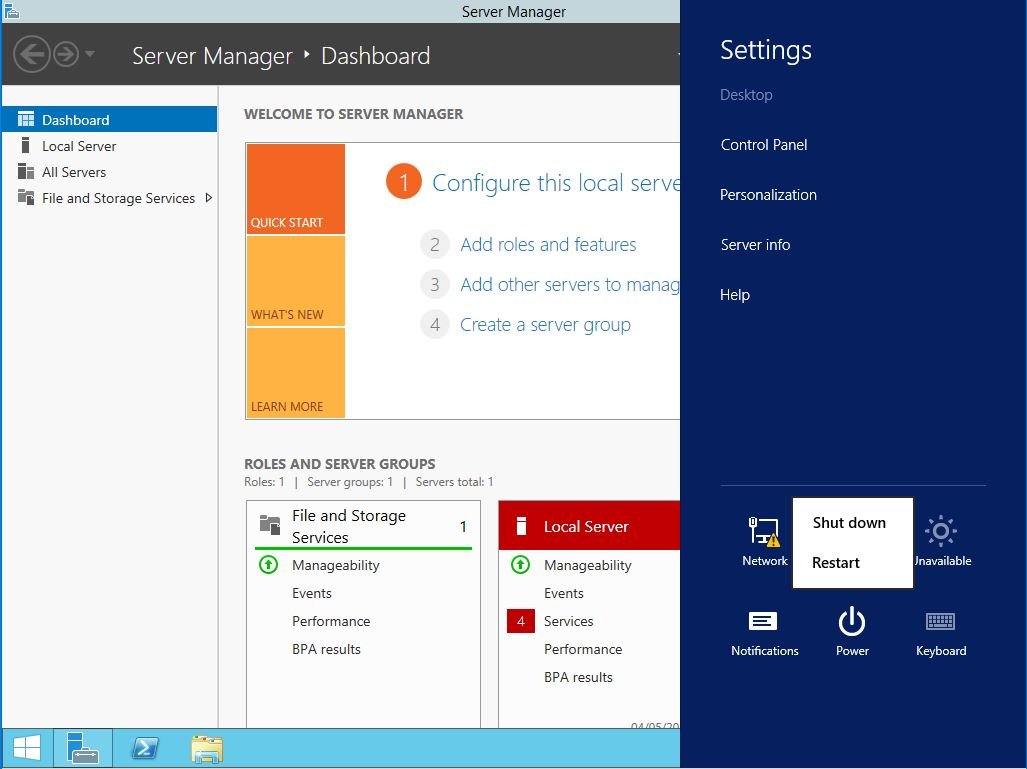
Step 24
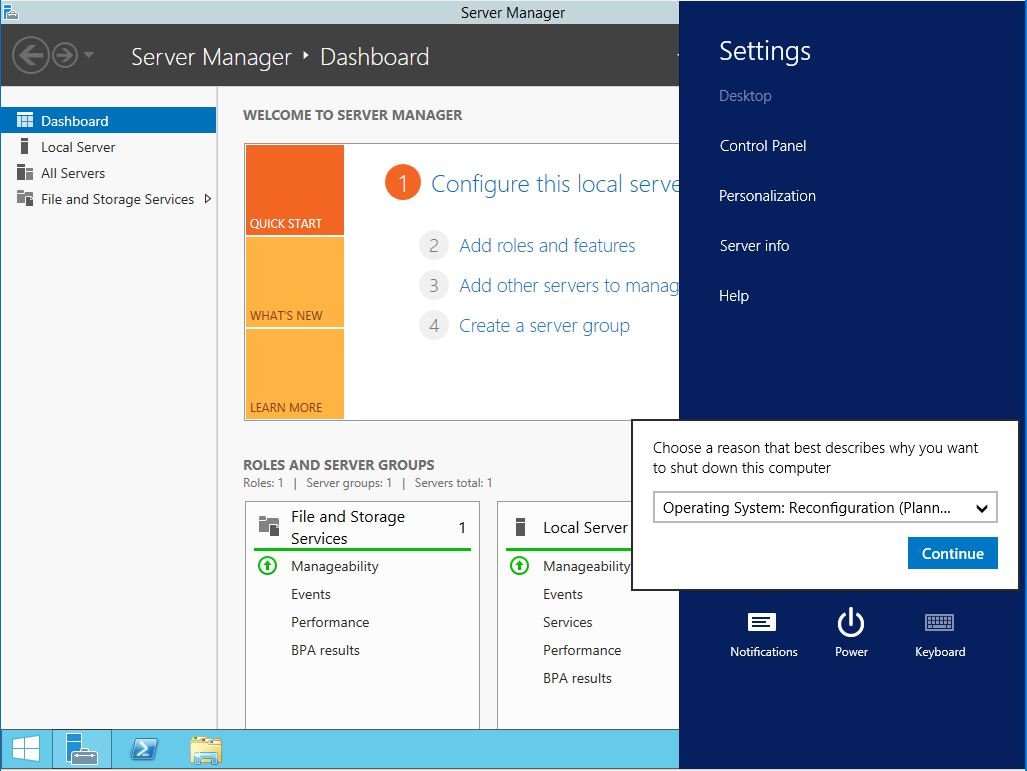
It's a always good idea to pick an appropriate reason for restarting, should you need to review the logs in the future they'll make sense.
Step 25
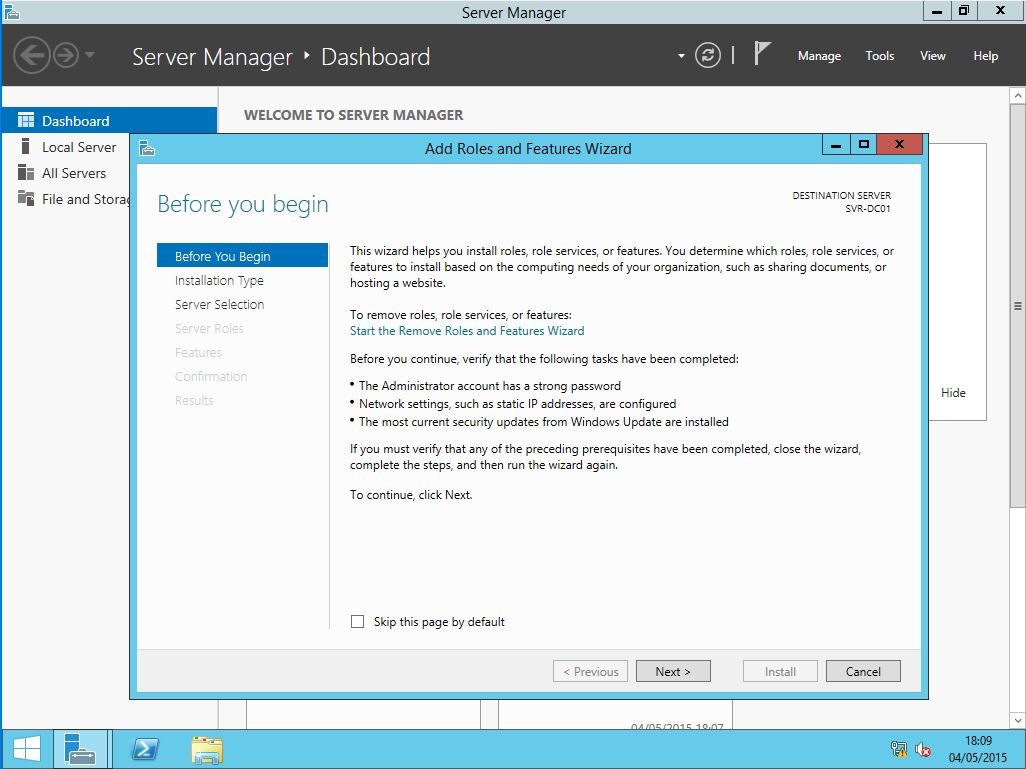
Once restarted and logged back in, the machine can be set up as a Domain Controller and DNS server. In Server Manager choose (2)Add roles and features.
Step 26
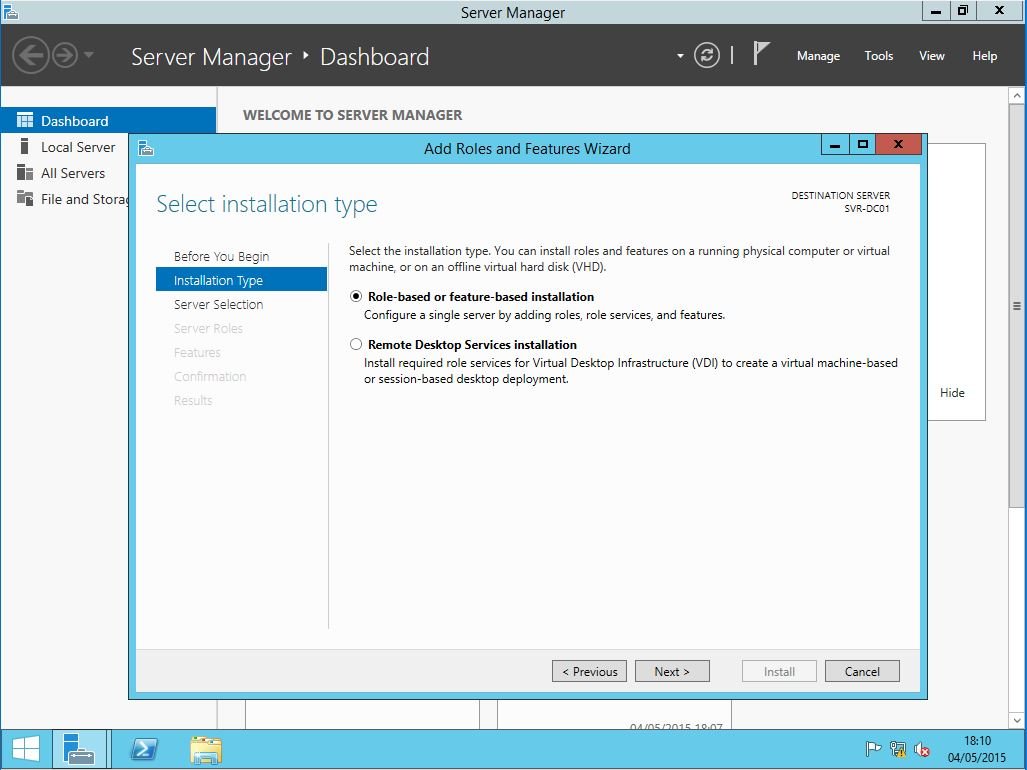
Choose Role-Based installation.
Step 27
Select this server.

Step 28
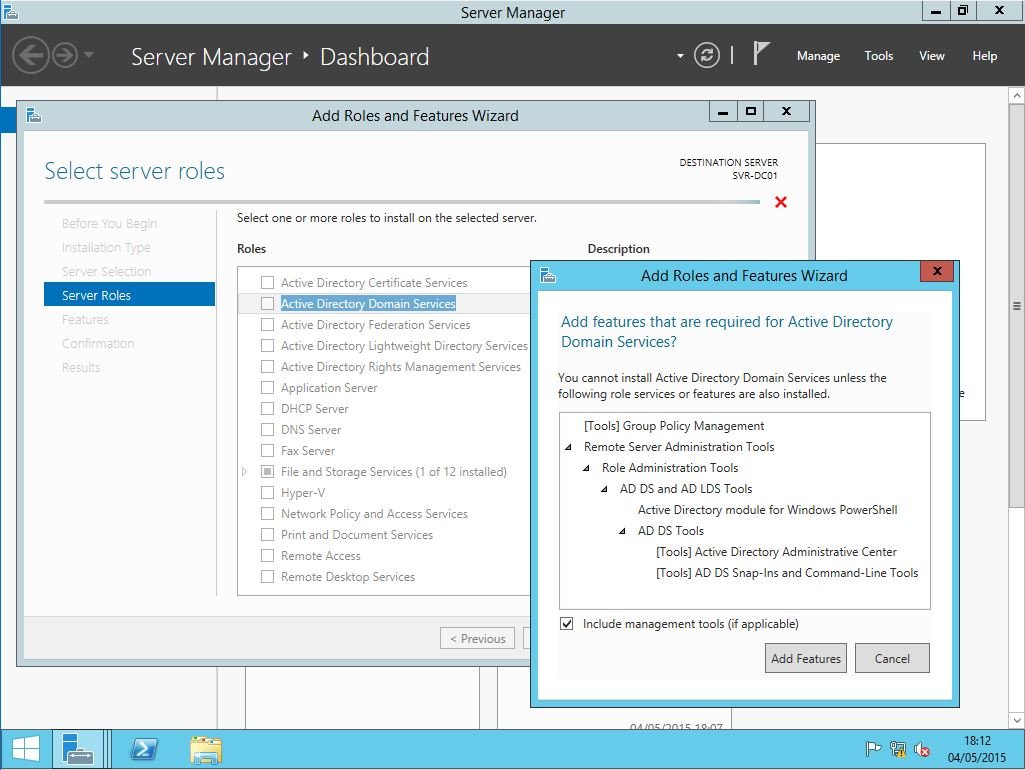
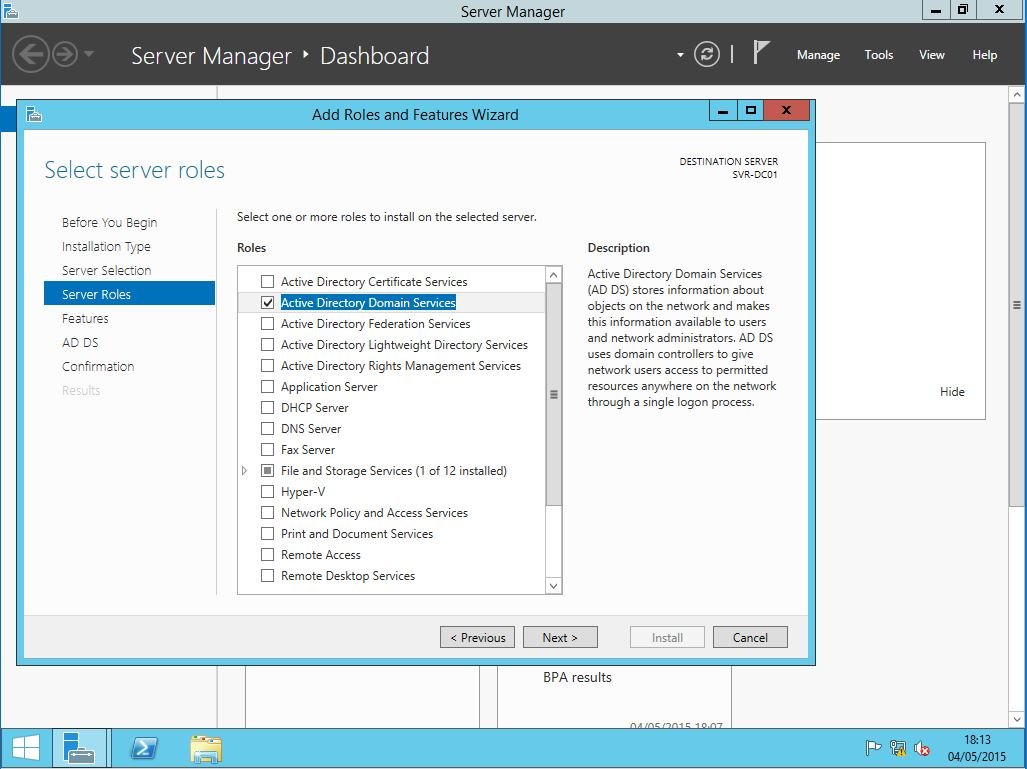
Choose Active Directory Domain Services, then add features.
Step 29
click next.
Step 30
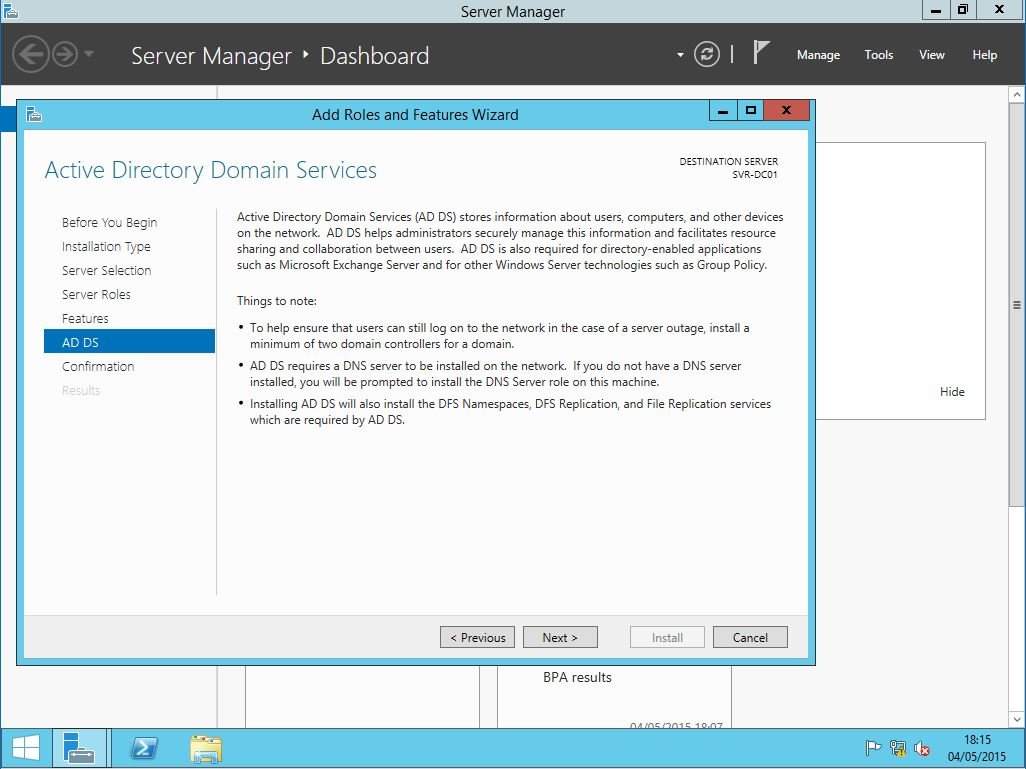
An next again, nothing else to install, other features (dependencies) are added automatically.

Step 31
Click next.
Step 32
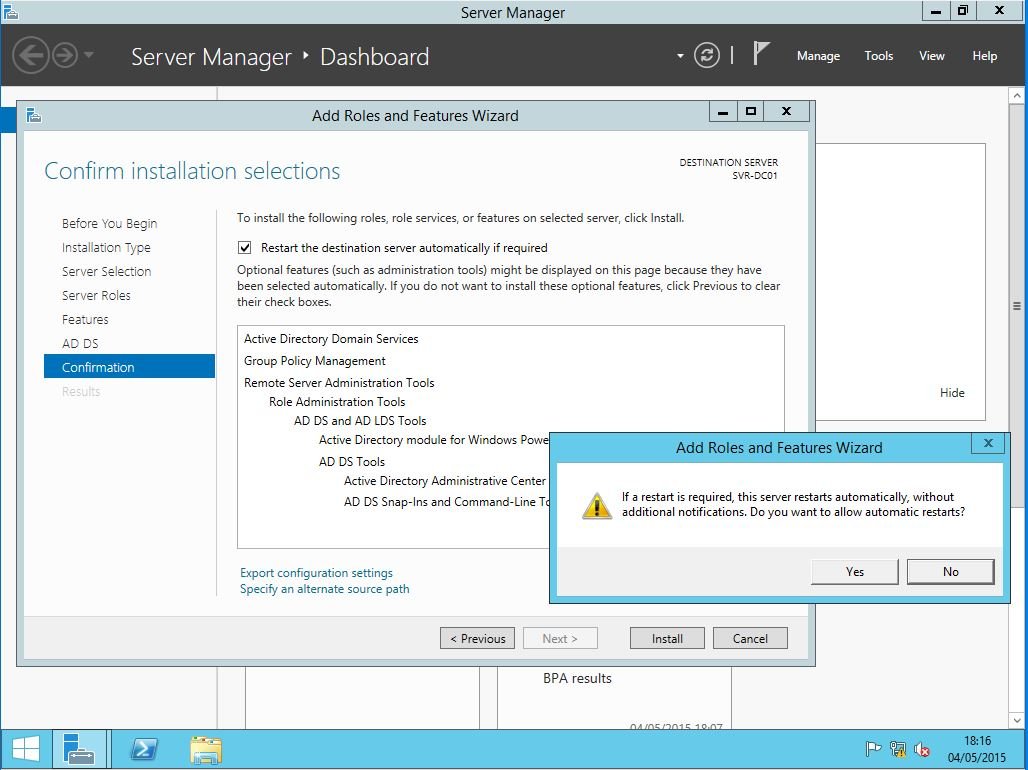
Tick the restart box, choose install and acknowledge the notice by choosing yes..
Step 33
Installation of Active Directory then starts.
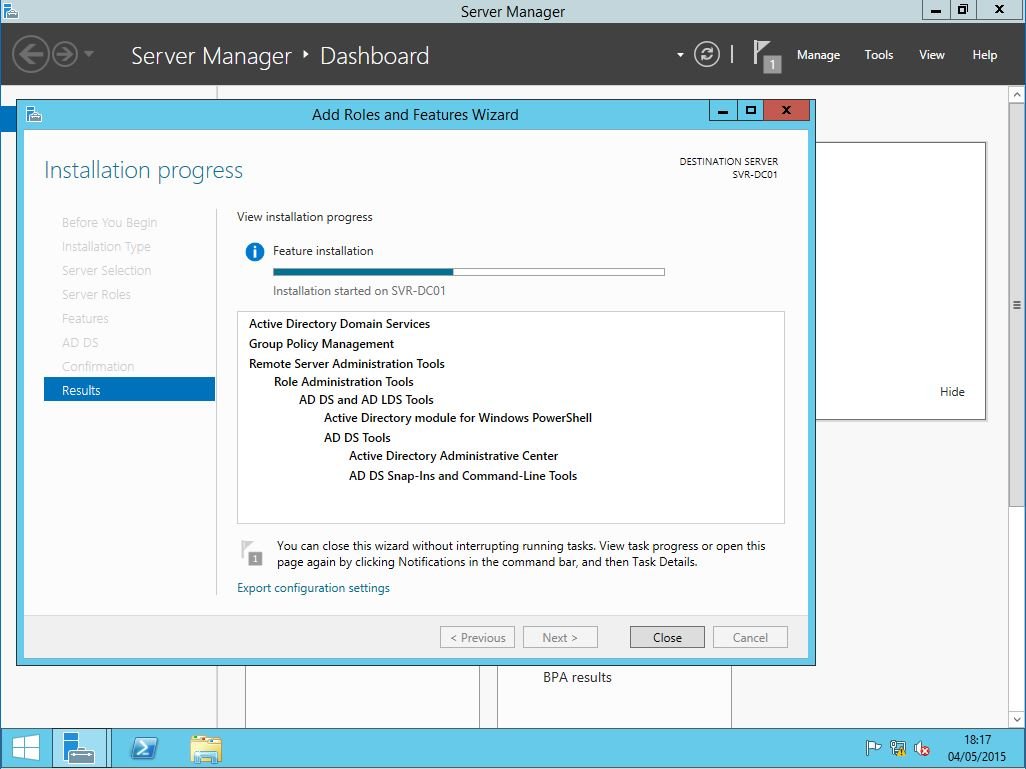
Step 34
When installation has finished click close.
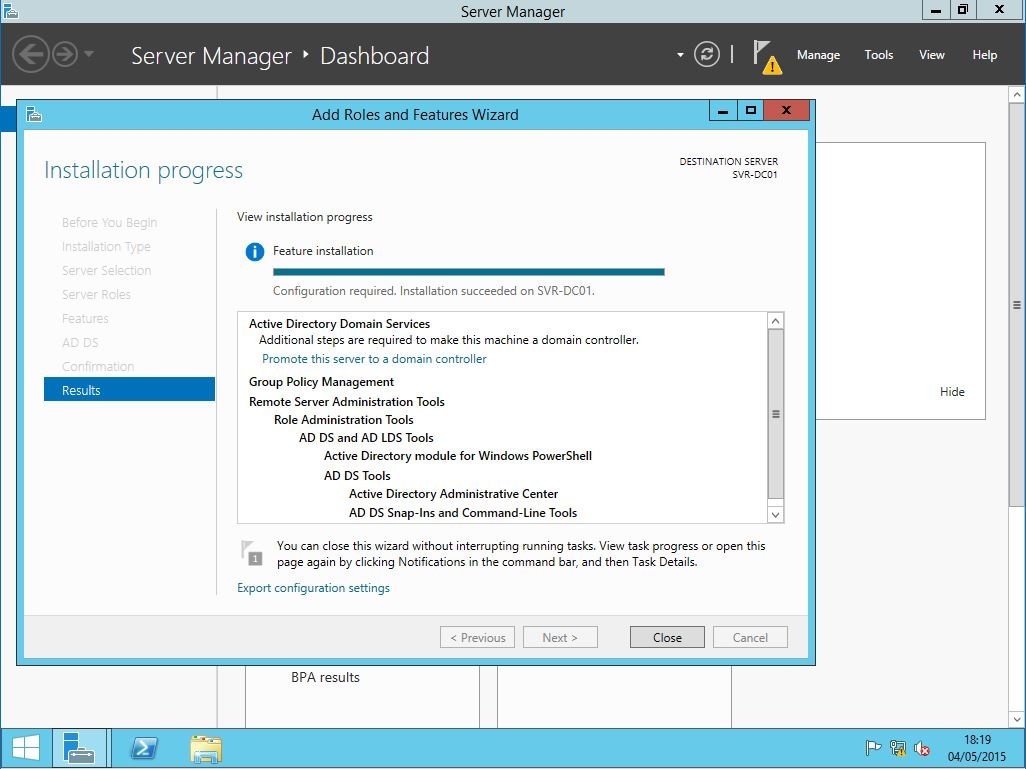
Step 35
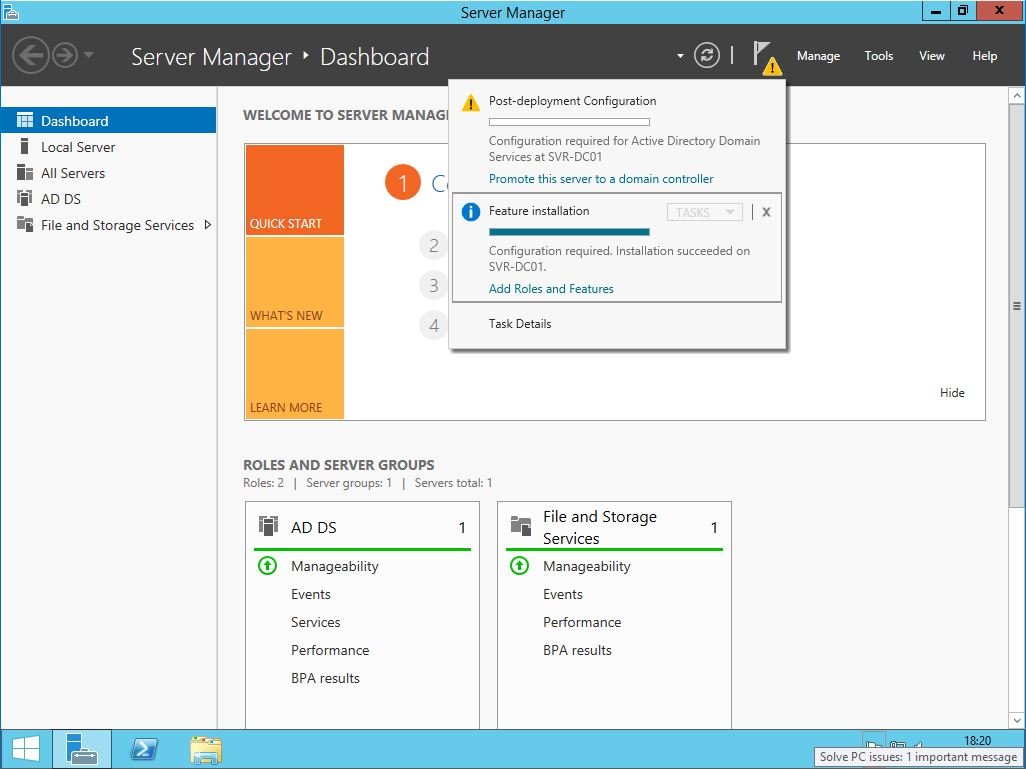
Notice the yellow triangle with the exclamation mark at the top row of the Server Manager Dashboard which signifies an important message is available. Click on the flag and it shows the message. To complete installation and promote the system to a Domain Controller click on the link in the message. (In the old days you would have typed DCPROMO at a command prompt.)
Step 36
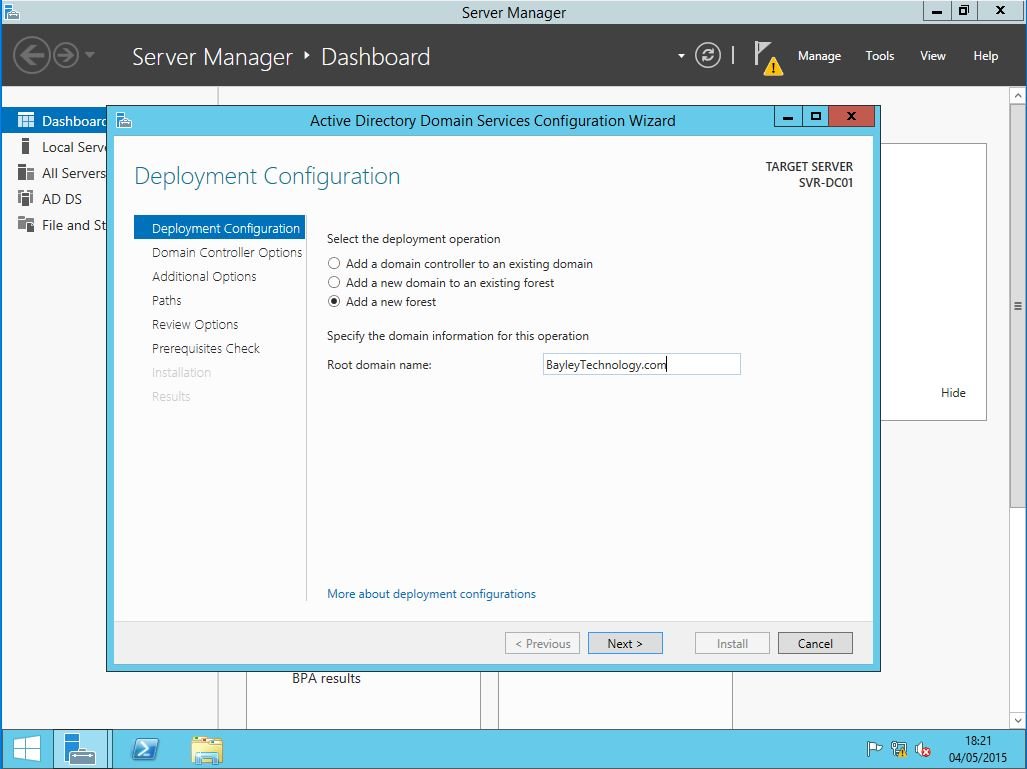
Choose Add a new forest. The rules have changed on SSL certificates - local domains will no longer be accepted. Use an appropriate top level domain (TLD) and once installation has completed set up a split DNS.
Step 37
Select the functional level based on the oldest systems on your network. Then enter a directory services restore mode password and click next.
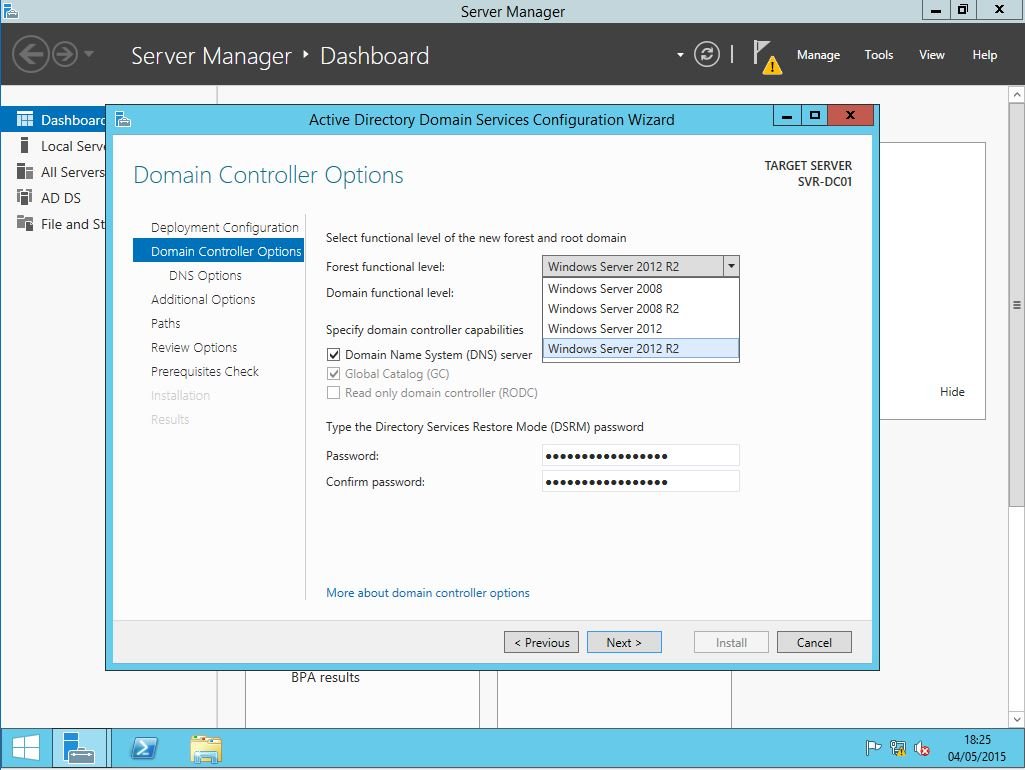
Step 38
Ignore the DNS error as DNS has not yet been setup for this domain and click next.
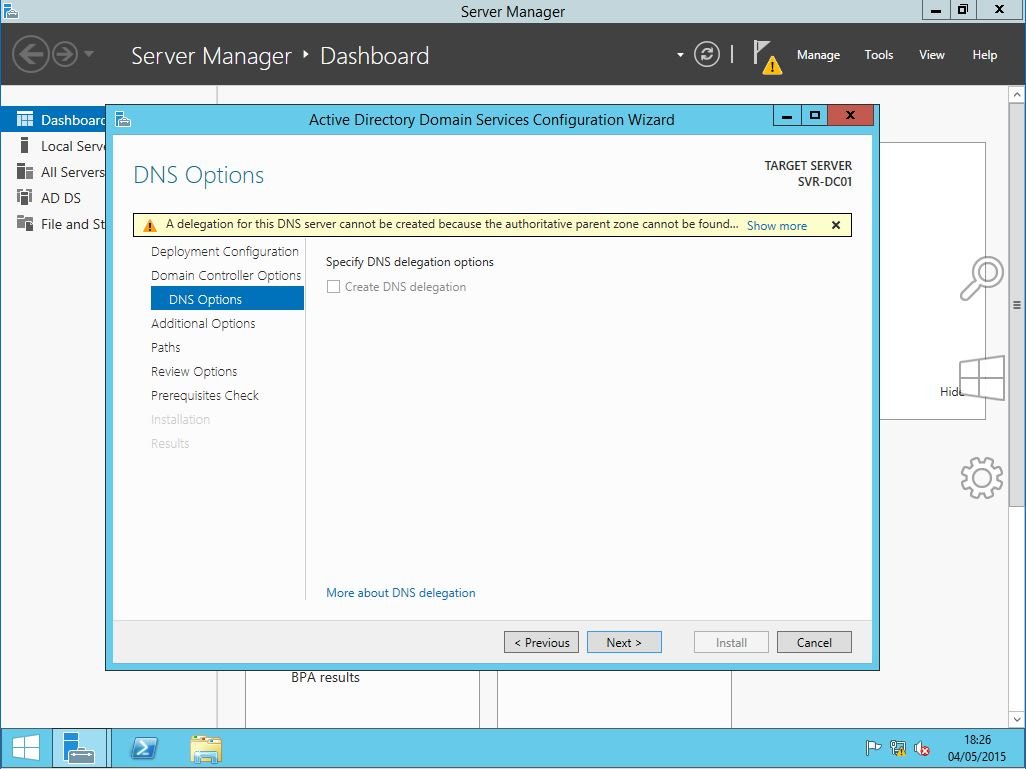
Step 39
Verify the NETBIOS domain name, then click next
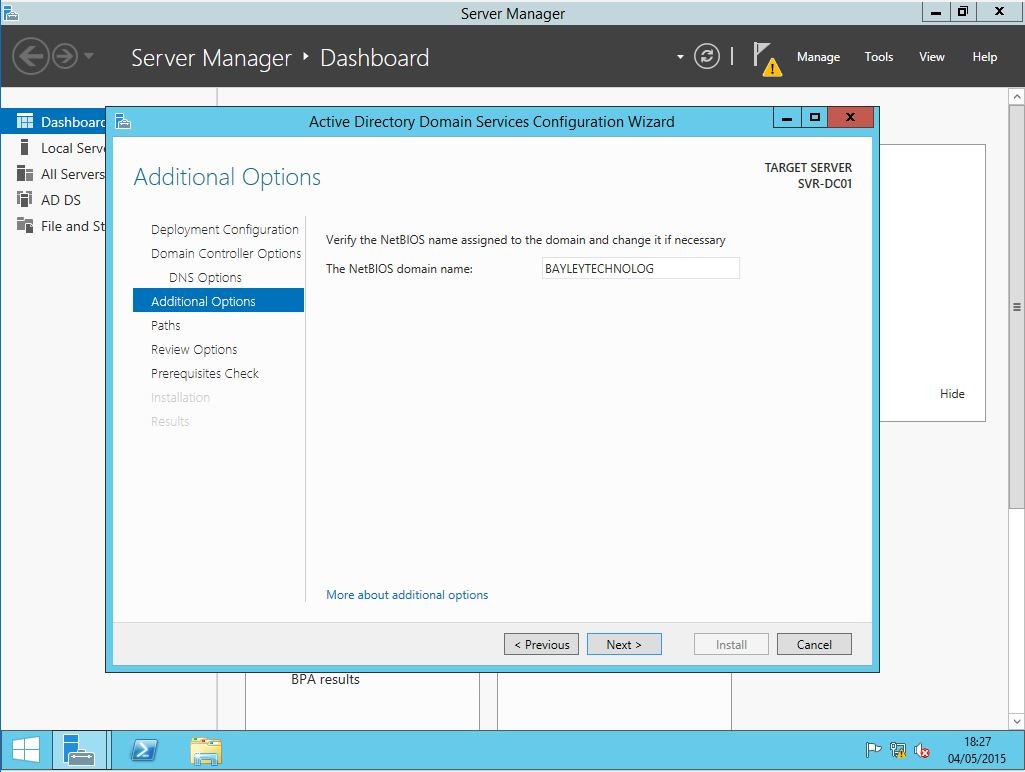
Step 40
Check you're happy with the locations for the Active Directory database files etc and click next.
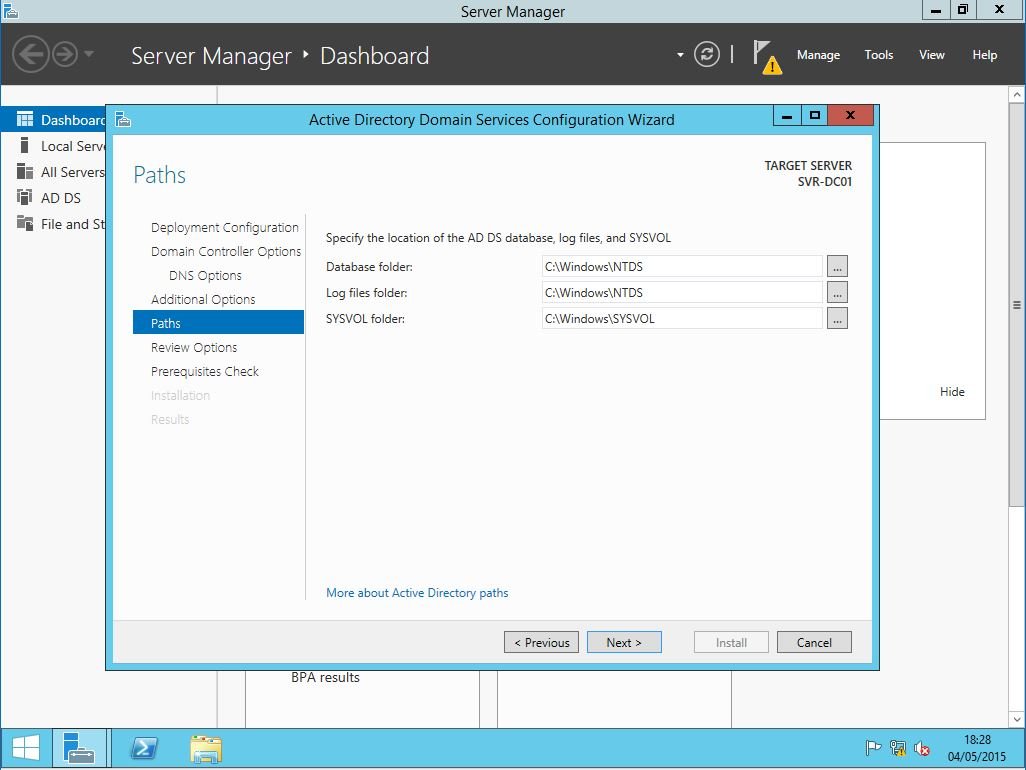
Step 41
Check you're happy with the information you've entered, if you're curious or may want to use it subsequently click on View Script.
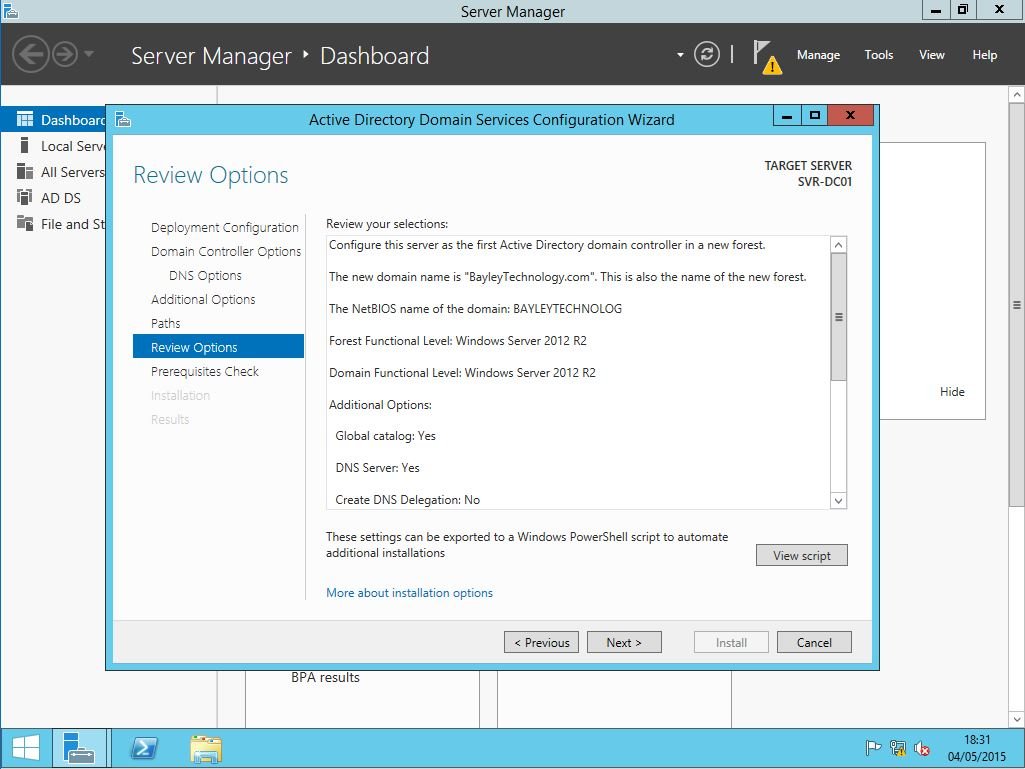
Step 42
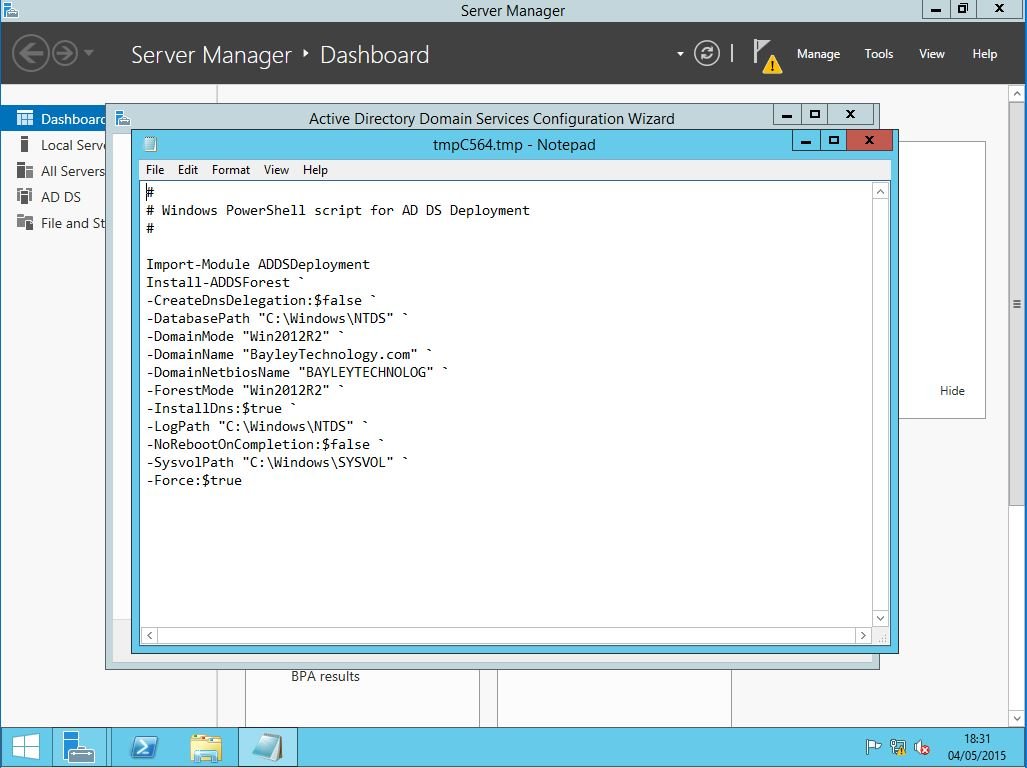
This is what you'll see if you click on View Script. Copy and/or Close the script and click next.
Step 43
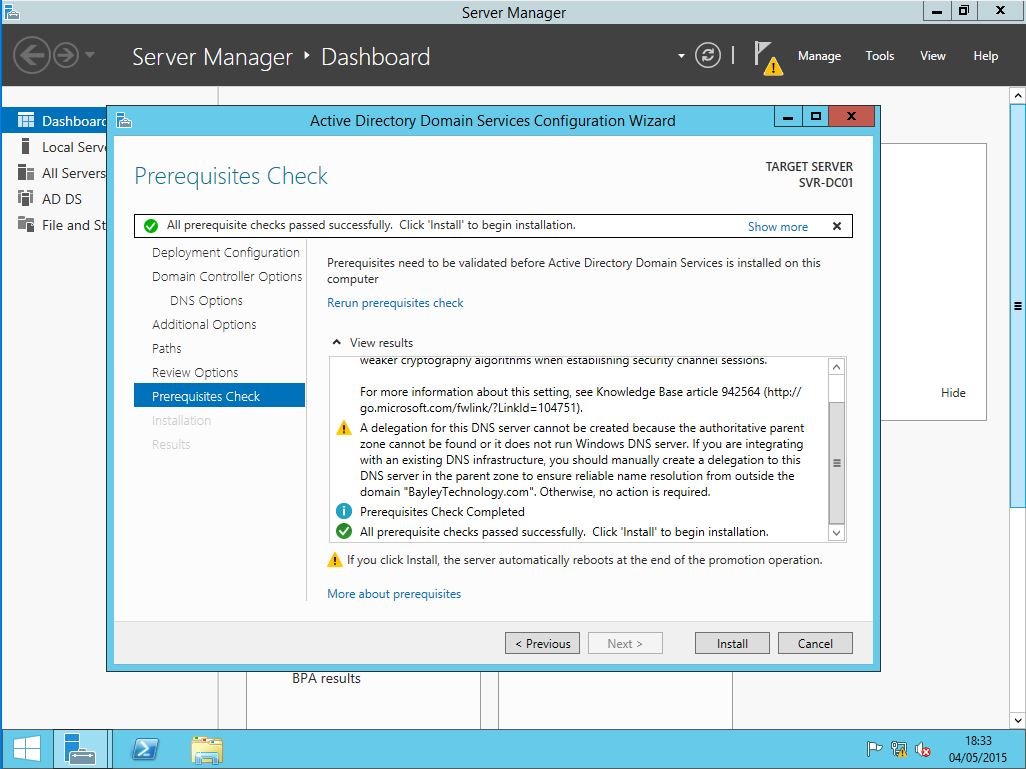
Check that all the prerequisite checks have passed and click install.
Step 44
The installation goes ahead
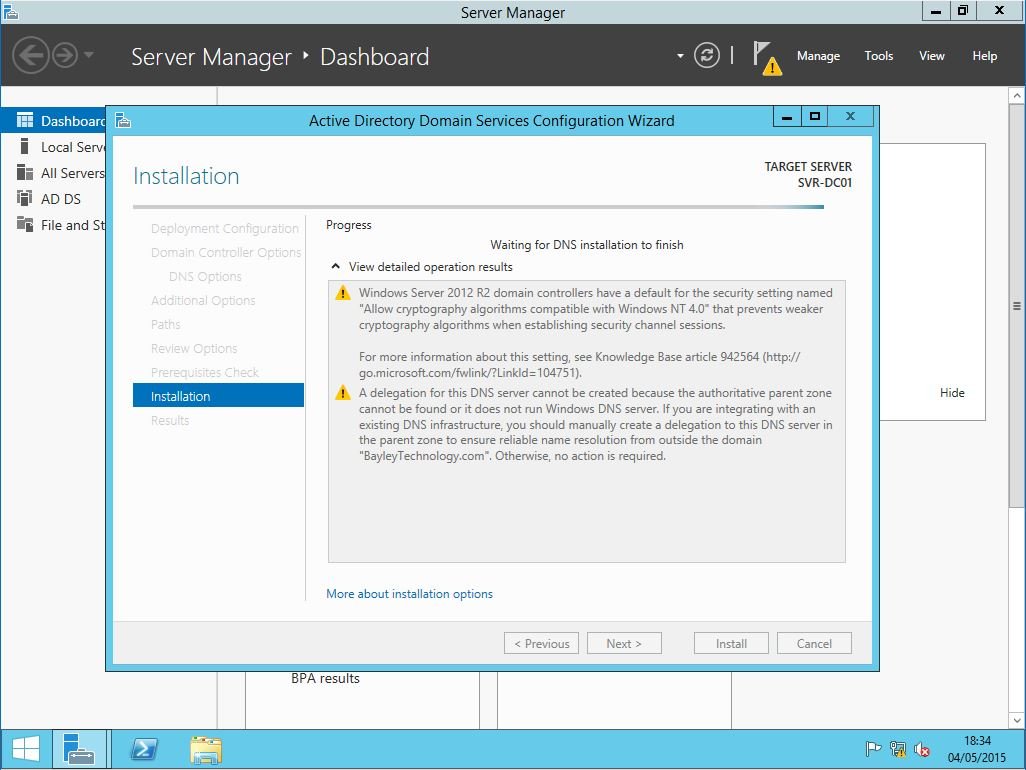
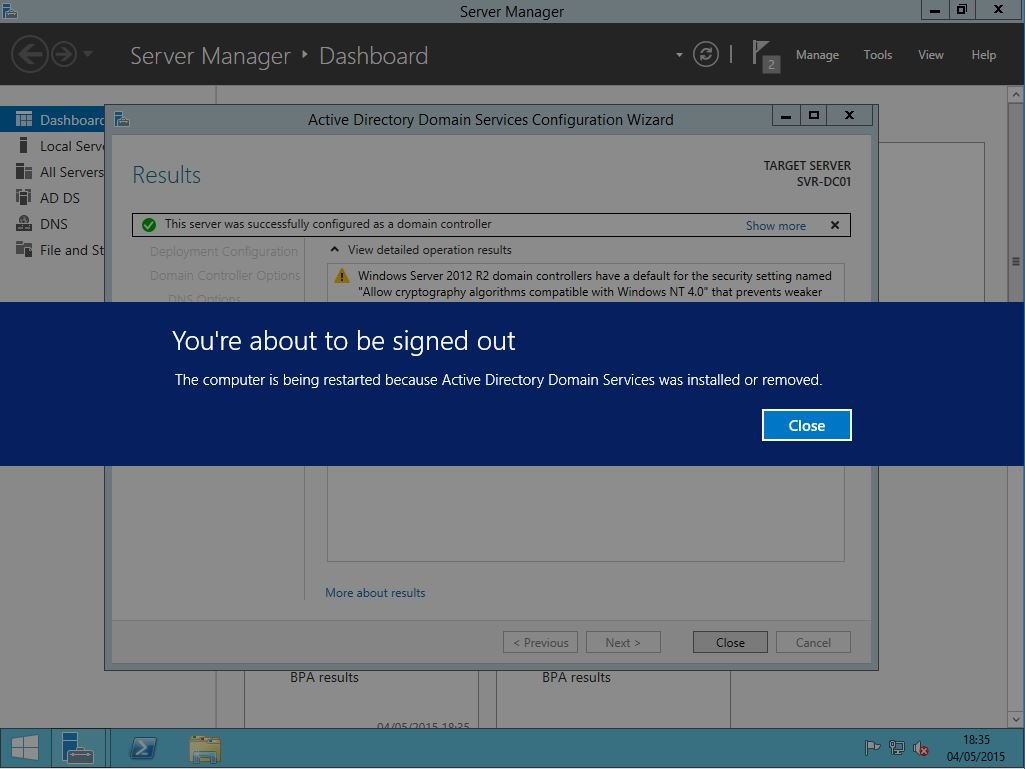
Step 45
Once the computer has been configured as a domain controller it will automatically restart. The Domain Controller will now hold all the Flexible Single Master Operation Roles (FSMO).
Miscellaneous
At this point the DNS and DHCP server roles should be set up and if the there is another DHCP server on the network it should be disabled.
DNS
The DNS server should be setup with Split DNS so that all requests for those systems such as Exchange or SQL servers on the local domain point to the appropriate local destination.
DHCP
DHCP or Dynamic Host Control Protocol is what allocates IP addresses to other PC's on the network. Anti-Virus can now be installed but bear in mind the recommendations of https://support.microsoft.com/en-us/kb/822158. The next task is to add users and groups. Then setup Printers and File Shares with access controls using those groups. If the server has sufficient processing power and memory the Hyper-V role can be added and an exchange server virtual machine can be created with the databases on the file server. Other virtual servers can be implemented e.g. a SQL server. Finally a backup regime should be implemented